
Are you thinking about upgrading your kitchen with an over-the-range microwave? You’re not alone! Many homeowners face the challenge of finding the perfect fit for their space. Measuring correctly can save you time, money, and a lot of frustration during installation.
Key Takeaways
- Understand the Purpose: Over-the-range microwaves save space by combining microwave functionality and ventilation to enhance kitchen aesthetics and utility.
- Accurate Measurements are Key: Measure the width, height, and depth of your installation space carefully to ensure a perfect fit. Always account for any surrounding obstacles.
- Follow Standard Guidelines: Position the microwave 18 to 24 inches above the cooking surface and ensure at least 30 inches of clearance above for safety and ventilation.
- Choose the Right Venting Option: Decide between ducted and ductless venting based on kitchen layout and personal needs to maintain optimal air circulation.
- Gather Necessary Tools: Use measuring tape, a level, a drill, and a screwdriver for accurate measurements and efficient installation.
- Check Local Codes: Review local codes and manufacturer instructions for specific installation requirements to avoid issues during setup.
Understanding Over The Range Microwaves
Over-the-range microwaves combine microwave functionality and range hoods, saving space in your kitchen. These units sit above your cooking range, providing cooling and ventilation while cooking.
Key Features
- Dual Functionality: Over-the-range microwaves act as both microwaves and exhaust fans. They help eliminate smoke, steam, and odors from your kitchen.
- Space Saving: Installing a microwave above the range frees up counter space, which can be particularly beneficial in smaller kitchens.
- Design Options: Available in various styles and finishes, these microwaves can blend seamlessly with your kitchen decor.
Standard Measurements
- Width: Common widths are 30 inches, ensuring compatibility with standard kitchen ranges.
- Height: Generally range from 15 to 18 inches, depending on the model.
- Depth: Typically around 12 to 15 inches, fitting well above your oven.
Installation Considerations
- Mounting Height: Position the bottom of the microwave 18 to 24 inches above the cooking surface. This height provides easy access while minimizing the risk of burns.
- Clearances: Ensure at least 30 inches of clearance above the range for safety and ventilation.
- Electrical Outlet: Verify that there’s an electrical outlet within reach, as most microwaves need a dedicated power source.
Tools You’ll Need
- Measuring Tape: Essential for accurate measurements.
- Level: Ensures the microwave is horizontal during installation.
- Drill: Useful for securing mounting brackets into the wall.
- Screwdriver: Required for attaching the microwave to the mounting brackets.
- Check the Ventilation Type: Decide if you want exterior or recirculating ventilation. Exterior vents expel air outside, while recirculating vents filter and reintroduce air back into the kitchen.
- Look for Features: Consider features like sensor cooking, multiple power levels, and one-touch buttons for added convenience.
By understanding these aspects of over-the-range microwaves, you can make informed decisions while measuring and selecting the perfect model for your kitchen.
Tools Required For Measuring
Accurate measurements are crucial for fitting your over-the-range microwave properly. To ensure precise and effective results, gather the following tools.
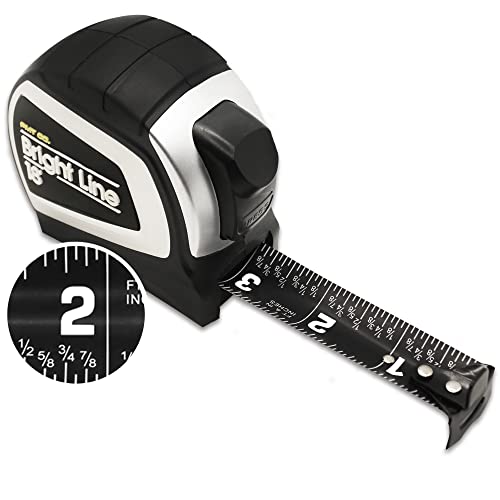
HIGHEST CONTRAST TAPE IN ALL LIGHT CONDITIONS: This high visibility easy-to-read black tape measure with fractions is perfect for taking accurate measurements. Unlike other tapes on the market, our white printed numbers on the black nylon-coated steel blade are highly visible and easy to read, even in dim lighting so don't let poor lighting stop you from getting the job done right!
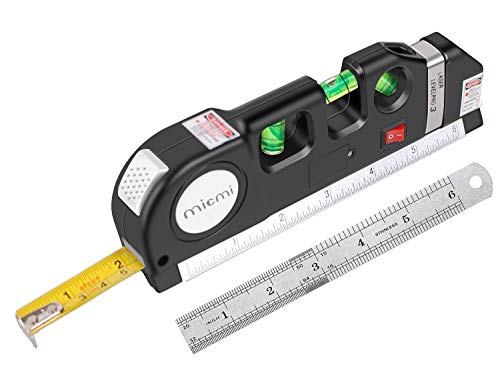
Laser level, PINPOINT ACCURACY - featuring the latest multipronged measurements technology, this laser level is a major improvement from all previous versions. Delivers pinpoint energy in a snap.
Measuring Tape
A measuring tape is essential for obtaining precise dimensions. Use it to measure the width, height, and depth of the designated space. Extend the tape to the full length of the area, marking where the microwave will mount. Check measurements at multiple points to account for any irregularities in the space. For best results, use a tape that measures in both inches and centimeters.
Level
A level ensures your microwave installs evenly. Even slight tilts can lead to improper function or complications during use. Place the level on the surface where the microwave will sit and adjust the mounting brackets accordingly. It’s helpful to check the level both horizontally and vertically to guarantee a balanced installation.
Steps To Measure For Over The Range Microwave
Accurate measurements are crucial for a successful installation of your over-the-range microwave. Follow these steps to ensure you get the right dimensions.
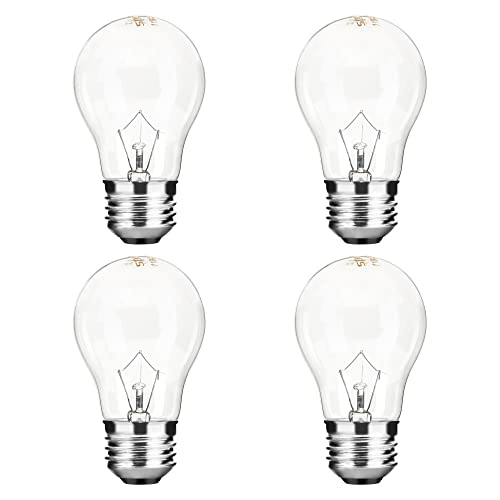
40W A15 appliance light bulb can be used as appliance parts replacement bulb in oven, refrigerator, under microwave, over stove range hood lava lamp, an replacement of OEM bulb item:15206, 48706, 83645, 40A15, 4396822, 8009, 10181, 10034, 9570, 5032-6.

This appliance bulb fits for GE Samsung Ken more Elite Maytag over the stove microwave, also been called "hood light", "stove light", "surface light" etc

This light bulb is for LG Frigidaire Kenmore Whirlpool GE above the stove microwave.
Step 1: Assess the Space
First, consider the area above your range. Check for obstacles like cabinets, ducts, or vents that might affect the installation. Move any items out of the way to visualize the space. If multiple items are present, such as racks or utensils, note their positions so you can ensure nothing blocks microwave access.
Step 2: Measure Width
Use a measuring tape to determine the width of the space where the microwave will fit. Measure from one wall to the other, ensuring the microwave’s width aligns with the available area. It’s essential to check at the top, middle, and bottom for consistency. If dimensions vary, choose the smallest width for reference.
Step 3: Measure Height
Next, measure the height available for your microwave. Start from the bottom of the upper cabinets, or if there are none, from the bottom of the area where you plan to install. Ensure there’s enough clearance above the microwave for ventilation. As with width, check multiple points to confirm consistency.
Step 4: Measure Depth
Finally, measure the depth of the installation space. Measure from the wall to the edge of the range. This dimension is important for ensuring the microwave doesn’t stick out too far. Check depth at various heights to account for any wall irregularities.
These measurements provide the foundation for selecting the right over-the-range microwave, ensuring both style and functionality in your kitchen.
Tips For Accurate Measurements
Accurate measurements are crucial for a seamless installation of your over-the-range microwave. Follow these tips to ensure that you get it right.
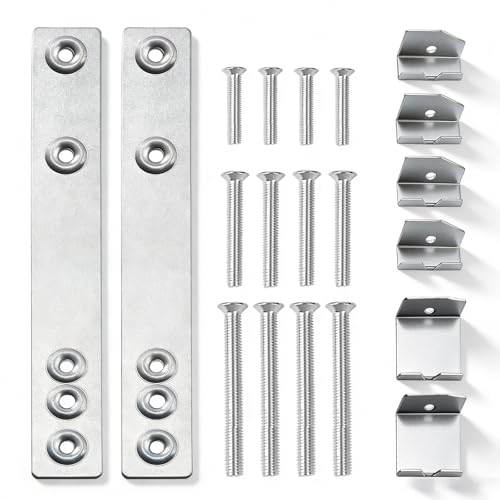
【Compatible with】: Compatible with GE Microwave including JE740BK01 JE740BK02 JE740BK03 JE740WK01 JEM1040DM1BB JEM1040DM1WW JEM25BF001 JEM25BF01 JEM25WF001 JEM25WF01 JEM31BF001 JEM31BF01 JEM31CF001 JEM31CF01 JEM31SF001 JEM31SF01 JEM31WF001 JEM31WF01 ZEM200SF05 PEM1050DM1BB PEM1050DM1CC PEM1050DM1WW PEM1050SM1SS ZEM200BF001 etc. Use CTRL+F to search your microwave model for fit confirmation

Large Capacity: 15.4"D x 29.9"W x 16.4"H. Featuring a spacious interior, this 1.7 cubic feet microwave oven includes a 12.4-inch turntable and will serve as your top sous chef for any meal or cooking adventure.

Powerful Cooking & Fresh Air – This over-the-range microwave combines 1000W of cooking power with a 300 CFM two-speed venting system, efficiently removing smoke, steam, and odors to keep your kitchen fresh. With 10 power levels, every meal is cooked to perfection.
Consider Venting Options
Consider the venting options that best suit your kitchen layout. Choose between ducted and ductless venting based on your needs.
- Ducted Venting: This option vents outside. Measure the distance from your microwave to the external wall. Ensure there’s a clear path for ductwork.
- Ductless Venting: This option filters air and recirculates it. Make sure to account for the additional height needed for charcoal filters and any needed clearance for air circulation.
Check local codes or manufacturer’s instructions for specific requirements.
Account For Installation Clearance
Account for different installation clearances when measuring space. Proper clearance ensures safety and functionality.
- Above the Range Height: Standard installation height is 54 inches from the floor to the bottom of the microwave. Verify that this height allows easy access to your stove.
- Side Clearance: Aim for at least 3 inches on each side of the microwave to avoid overheating and ensure proper air circulation.
- Depth Clearance: Measure the depth of your microwave and ensure there are no obstructions behind it, like electrical outlets or pipes.
Taking careful notes of these measurements helps avoid unexpected issues, leading to a smooth installation process.
Conclusion
Getting the right measurements for your over-the-range microwave can make all the difference in your kitchen upgrade. By taking the time to measure accurately and consider all the factors like ventilation and clearance, you’ll set yourself up for a smooth installation process.
Remember to check for obstacles and ensure the space is clear for the microwave to fit perfectly. With the right measurements in hand you can confidently choose a model that not only looks great but functions well in your space. Enjoy the convenience and style that an over-the-range microwave brings to your kitchen!
Frequently Asked Questions
What should I consider when upgrading to an over-the-range microwave?
When upgrading, measure your available space accurately to ensure a proper fit. Consider the microwave’s dual function as both an appliance and a range hood. Also, check for necessary clearances and electrical requirements to avoid installation issues.
How do I measure for an over-the-range microwave?
Start by checking the area above your range for obstructions. Use a measuring tape to measure the width, height, and depth at multiple points. Ensure to account for ventilation clearance and wall irregularities for a proper installation.
What is the standard installation height for an over-the-range microwave?
The standard installation height is typically 54 inches from the floor to the bottom of the microwave. This height allows for safe operation above the cooking range while providing adequate ventilation.
Are there different types of ventilation options for over-the-range microwaves?
Yes, over-the-range microwaves can be ducted or ductless. Ducted options vent air outside, while ductless models use filters to recycle air back into the kitchen. Choose based on your kitchen layout and venting needs.
What tools are essential for installing an over-the-range microwave?
Essential tools include a stud finder, level, measuring tape, drill, screwdriver, and wrench. Having these tools on hand can help ensure a smooth and efficient installation process.
How can I ensure a proper fit for my microwave?
To ensure a proper fit, measure width, height, and depth multiple times, check for side clearance of at least 3 inches, and account for obstructions and electrical outlet placements. This diligence will prevent installation complications.